EROS
环境
Node.js >= 9.x
npm 4+
1 | # maple @ iMac in ~/workspace/eros [17:03:22] |
安装
1 | $ npm install -g eros-cli |
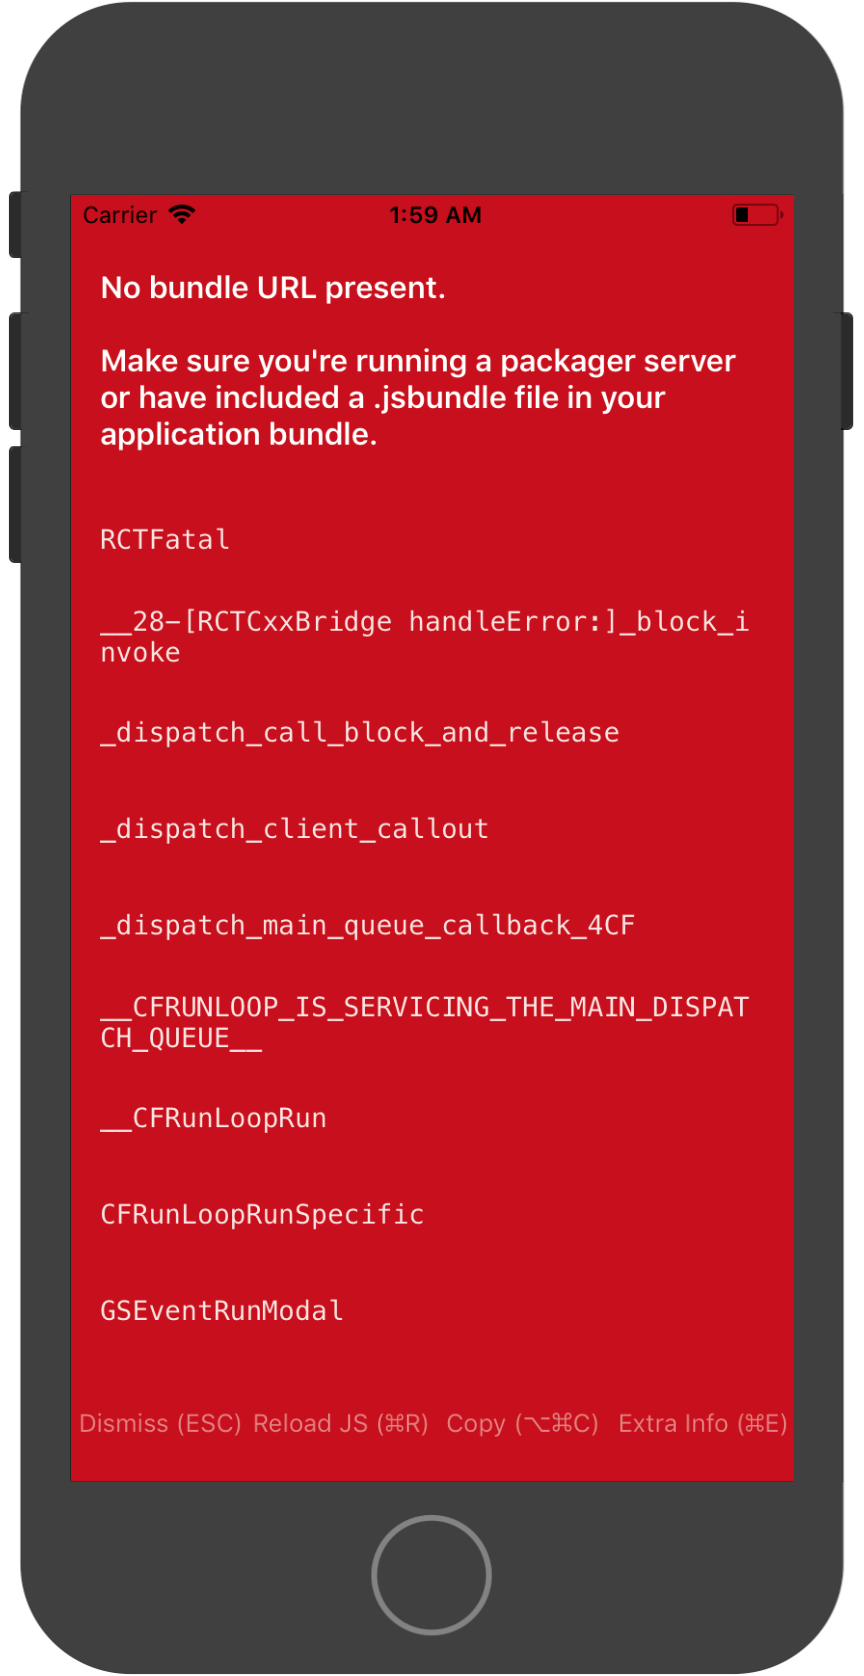
安装出现问题:
1 | $ npm install -g eros-cli |
解决:
清除下缓存1
2npm cache clean --force
7281 npm install -g eros-cli
安装 cnpm
1 | npm install -g cnpm --registry=https://registry.npm.taobao.org |
安装 weex-toolkit
1 | cnpm i -g weex-toolkit |
需求预估时间提前阅读总结:
需求一: 有道广告优化
目前我看到的是在moment中有 youdao 类型的 cell 返回将这个cell出来,在代理方法中有对有道广告的配置,那么这个需求我们要在哪里进行修改???